The initial pitch
It started as a normal work-day morning, when my friend Alessio comes out of the blue and asked me to play some CTF.
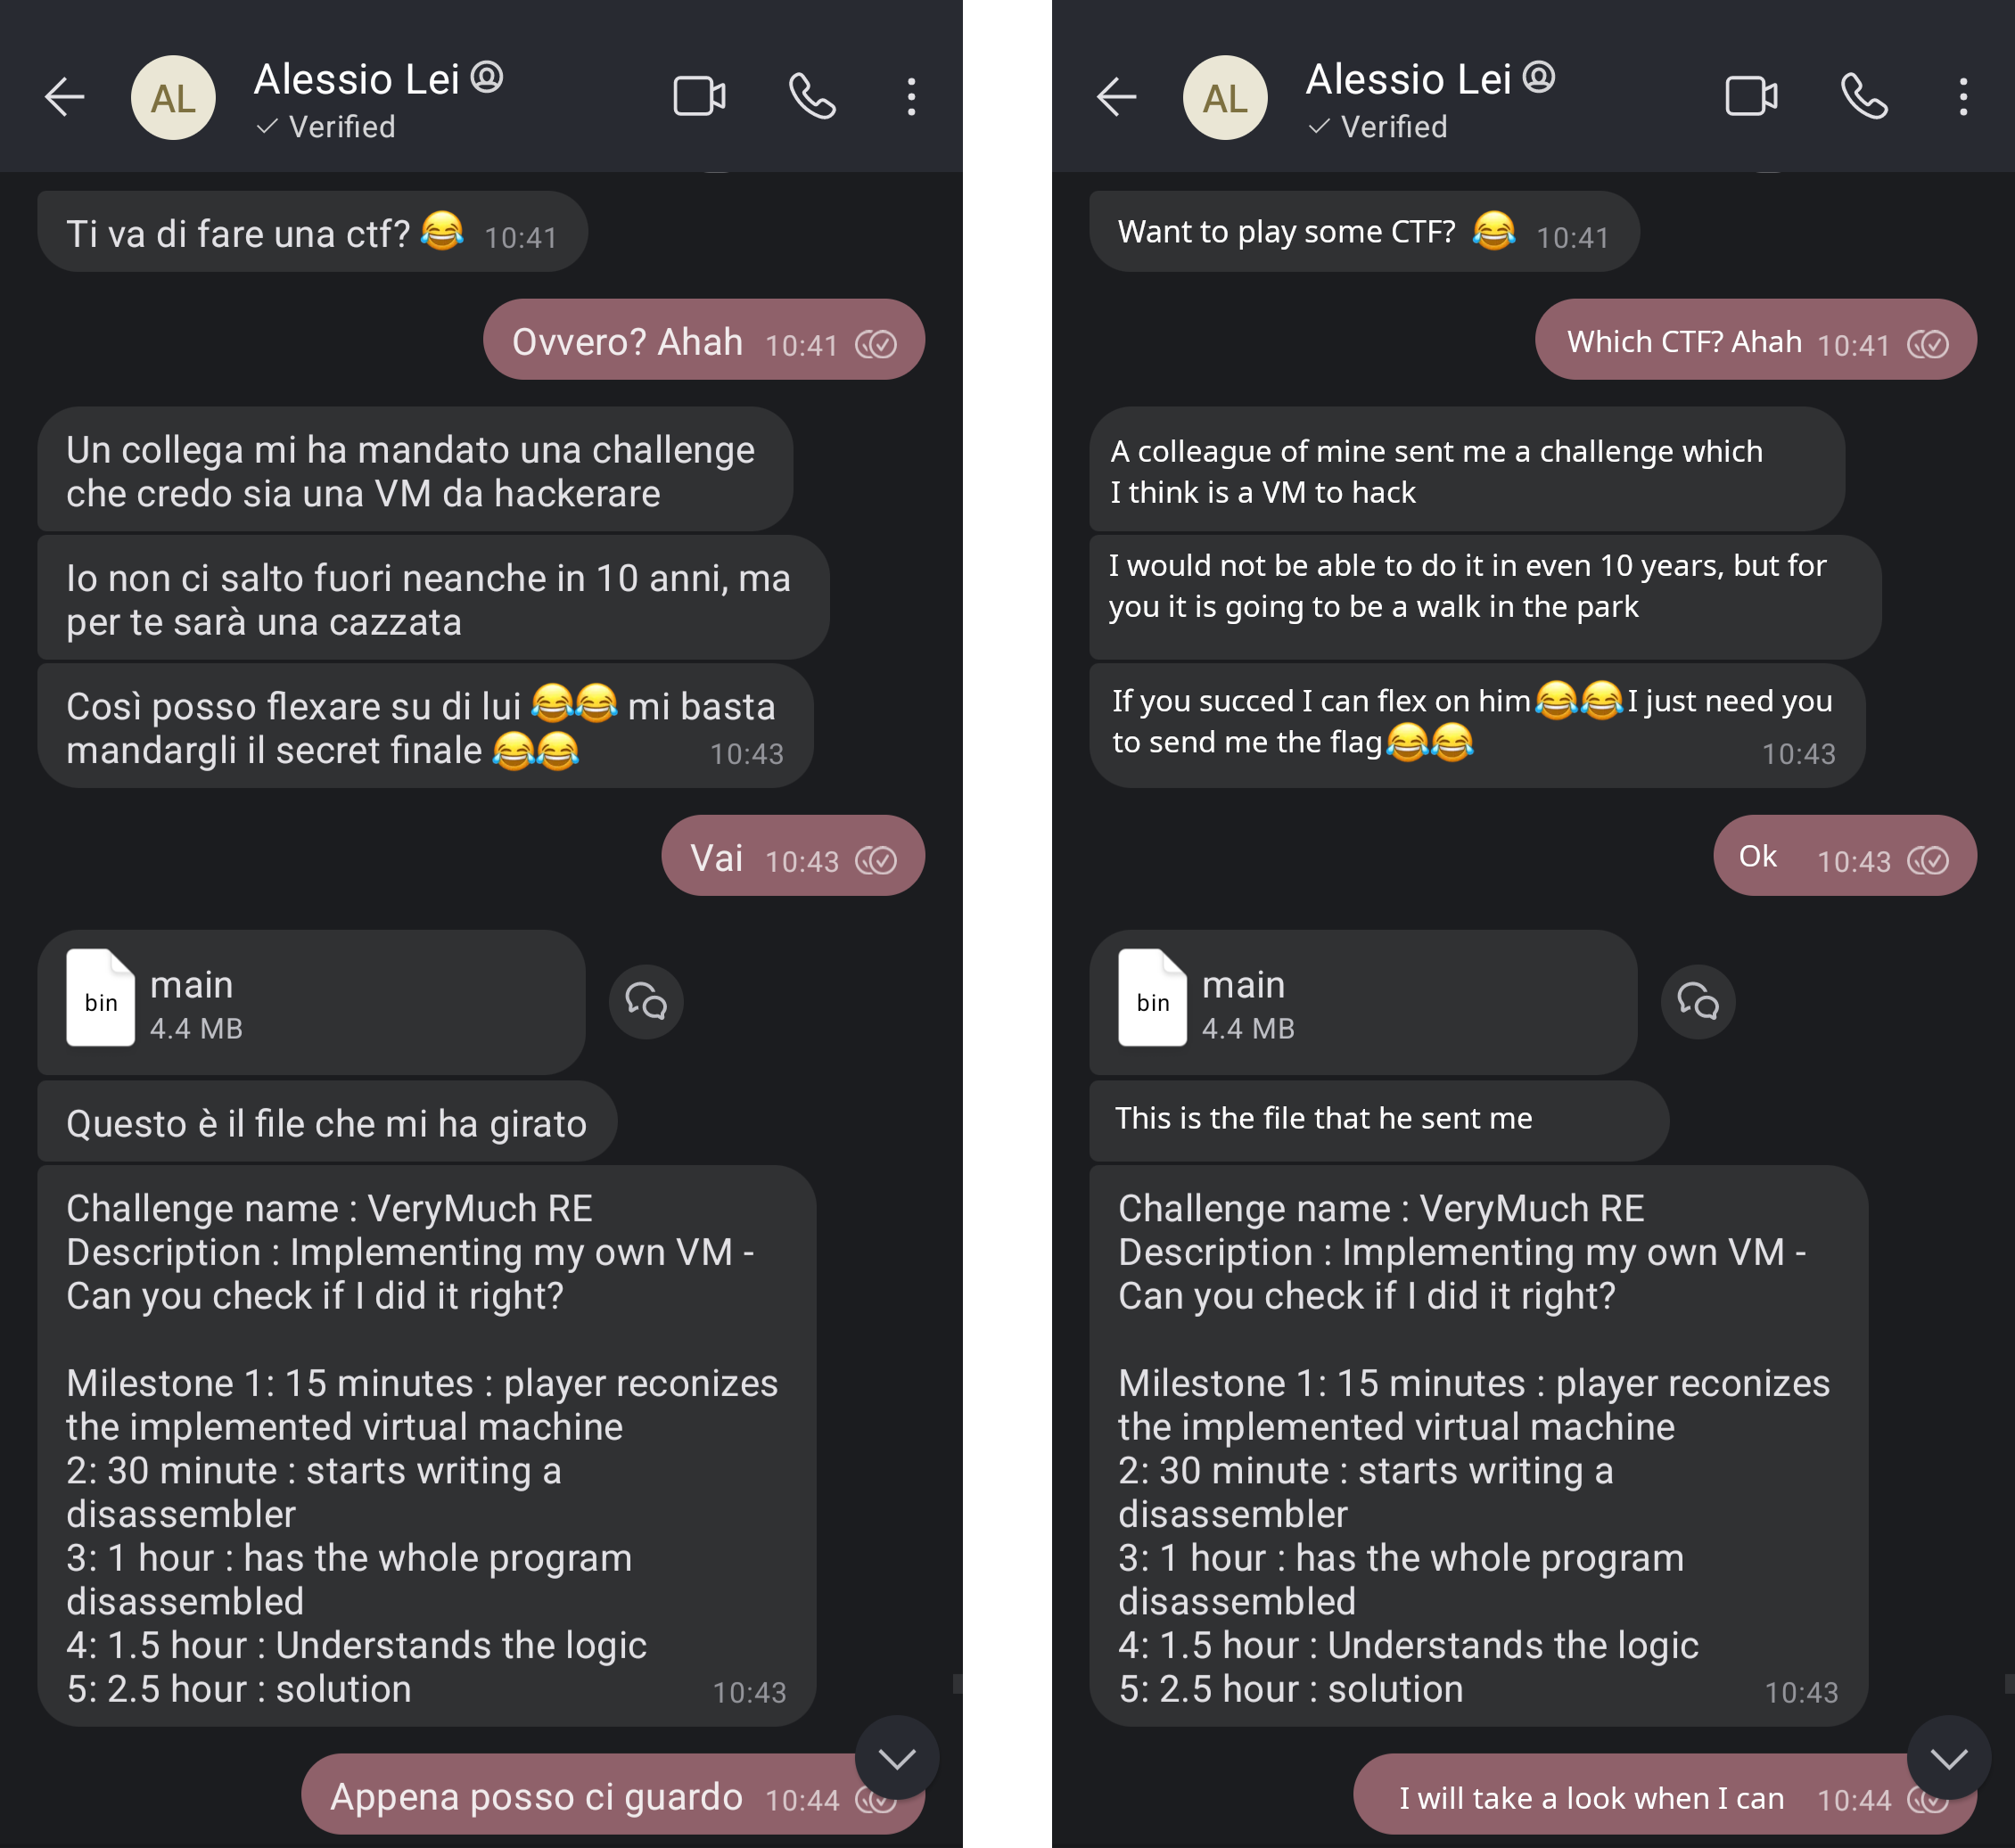
"My colleague sent me this VM challenge..."
Challenge name: VeryMuch RE
Description: Implementing my own VM - Can you check if I did it right?
Milestones
- 15 minutes: player recognizes the implemented virtual machine
- 30 minutes: (the player) starts writing a disassembler
- 1 hour: (the player) has the whole program disassembled
- 1 hour and a half: (the player) understands the logic
- 2 hours and a half: (the player comes up with a) solution
Later in the evening, I picked the challenge up. It was a ELF64 static binary written in Rust, which implemented a custom Virtual Machine.
Running it would play an animation and then it would ask for a flag. If a parameter was passed, it would output the allowed symbols the flag could contain.

Target being run with (2) and without (1) parameters
Once opened up in Ghidra, I generated the graph of the main function’s Basic BLocks.
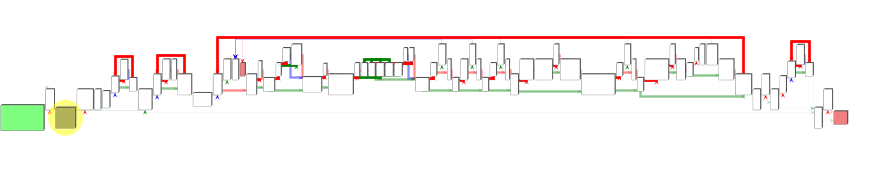
Virtual Machine BBL graph
Looking at the disassembly, it was easy to spot the Virtual 32bit Registers including the Virtual Program Counter, which in this case was EBP.
                                          ; Virtual registers initialization
                                          ; Set all registers to 0
XOR        R8D,R8D                        ; VR0 (Virtual Register 0) = 0
XOR        R9D,R9D                        ; VR1 = 0
XOR        R10D,R10D                      ; VR2 = 0
XOR        R11D,R11D                      ; VR3 = 0
XOR        EBX,EBX                        ; VR4 = 0
XOR        R14D,R14D                      ; VR5 = 0
XOR        R13D,R13D                      ; VR6 = 0
XOR        EAX,EAX                        ; VR7 = 0
XOR        R12D,R12D                      ; VR8 = 0
JMP        VM_START
VM_START:
MOV        EBP,dword ptr [RAX + RCX*4]    ; Load the next instruction in EBP
TEST       EBP,0x40000                    ; Test if the 19th bit of EBP (current instruction) is set
JZ         LAB_SKIP_INS1                  ; If not, skip the next (virtual) instruction
LEA        R12D,[R14 + R13*0x1]           ; VR8 = VR5 + VR6
SKIP_INS1:
MOV        EDX,R13D                       ; Internal VM Logic
IMUL       EDX,R14D                       ; Internal VM Logic
TEST       EBP,0x80000                    ; Test if the 20th bit of EBP (current instruction) is set
CMOVZ      EDX,R12D                       ; Another (virtual) instruction
TEST       EBP,0x20000                    ; Test if the 17th bit of EBP (current instruction) is set
JZ         LAB_SKIP_INS2                  ; If not, skip the next (virtual) instruction
                                          ; More VM code...
I was able to locate and dump the bytecode. Each instruction was composed of a dword (4 bytes).
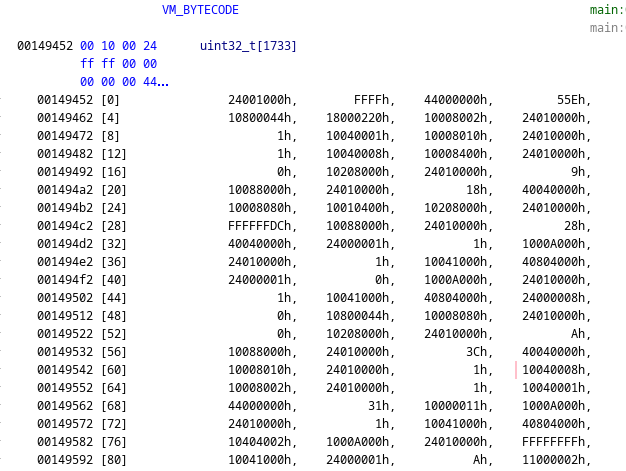
VM_BYTECODE
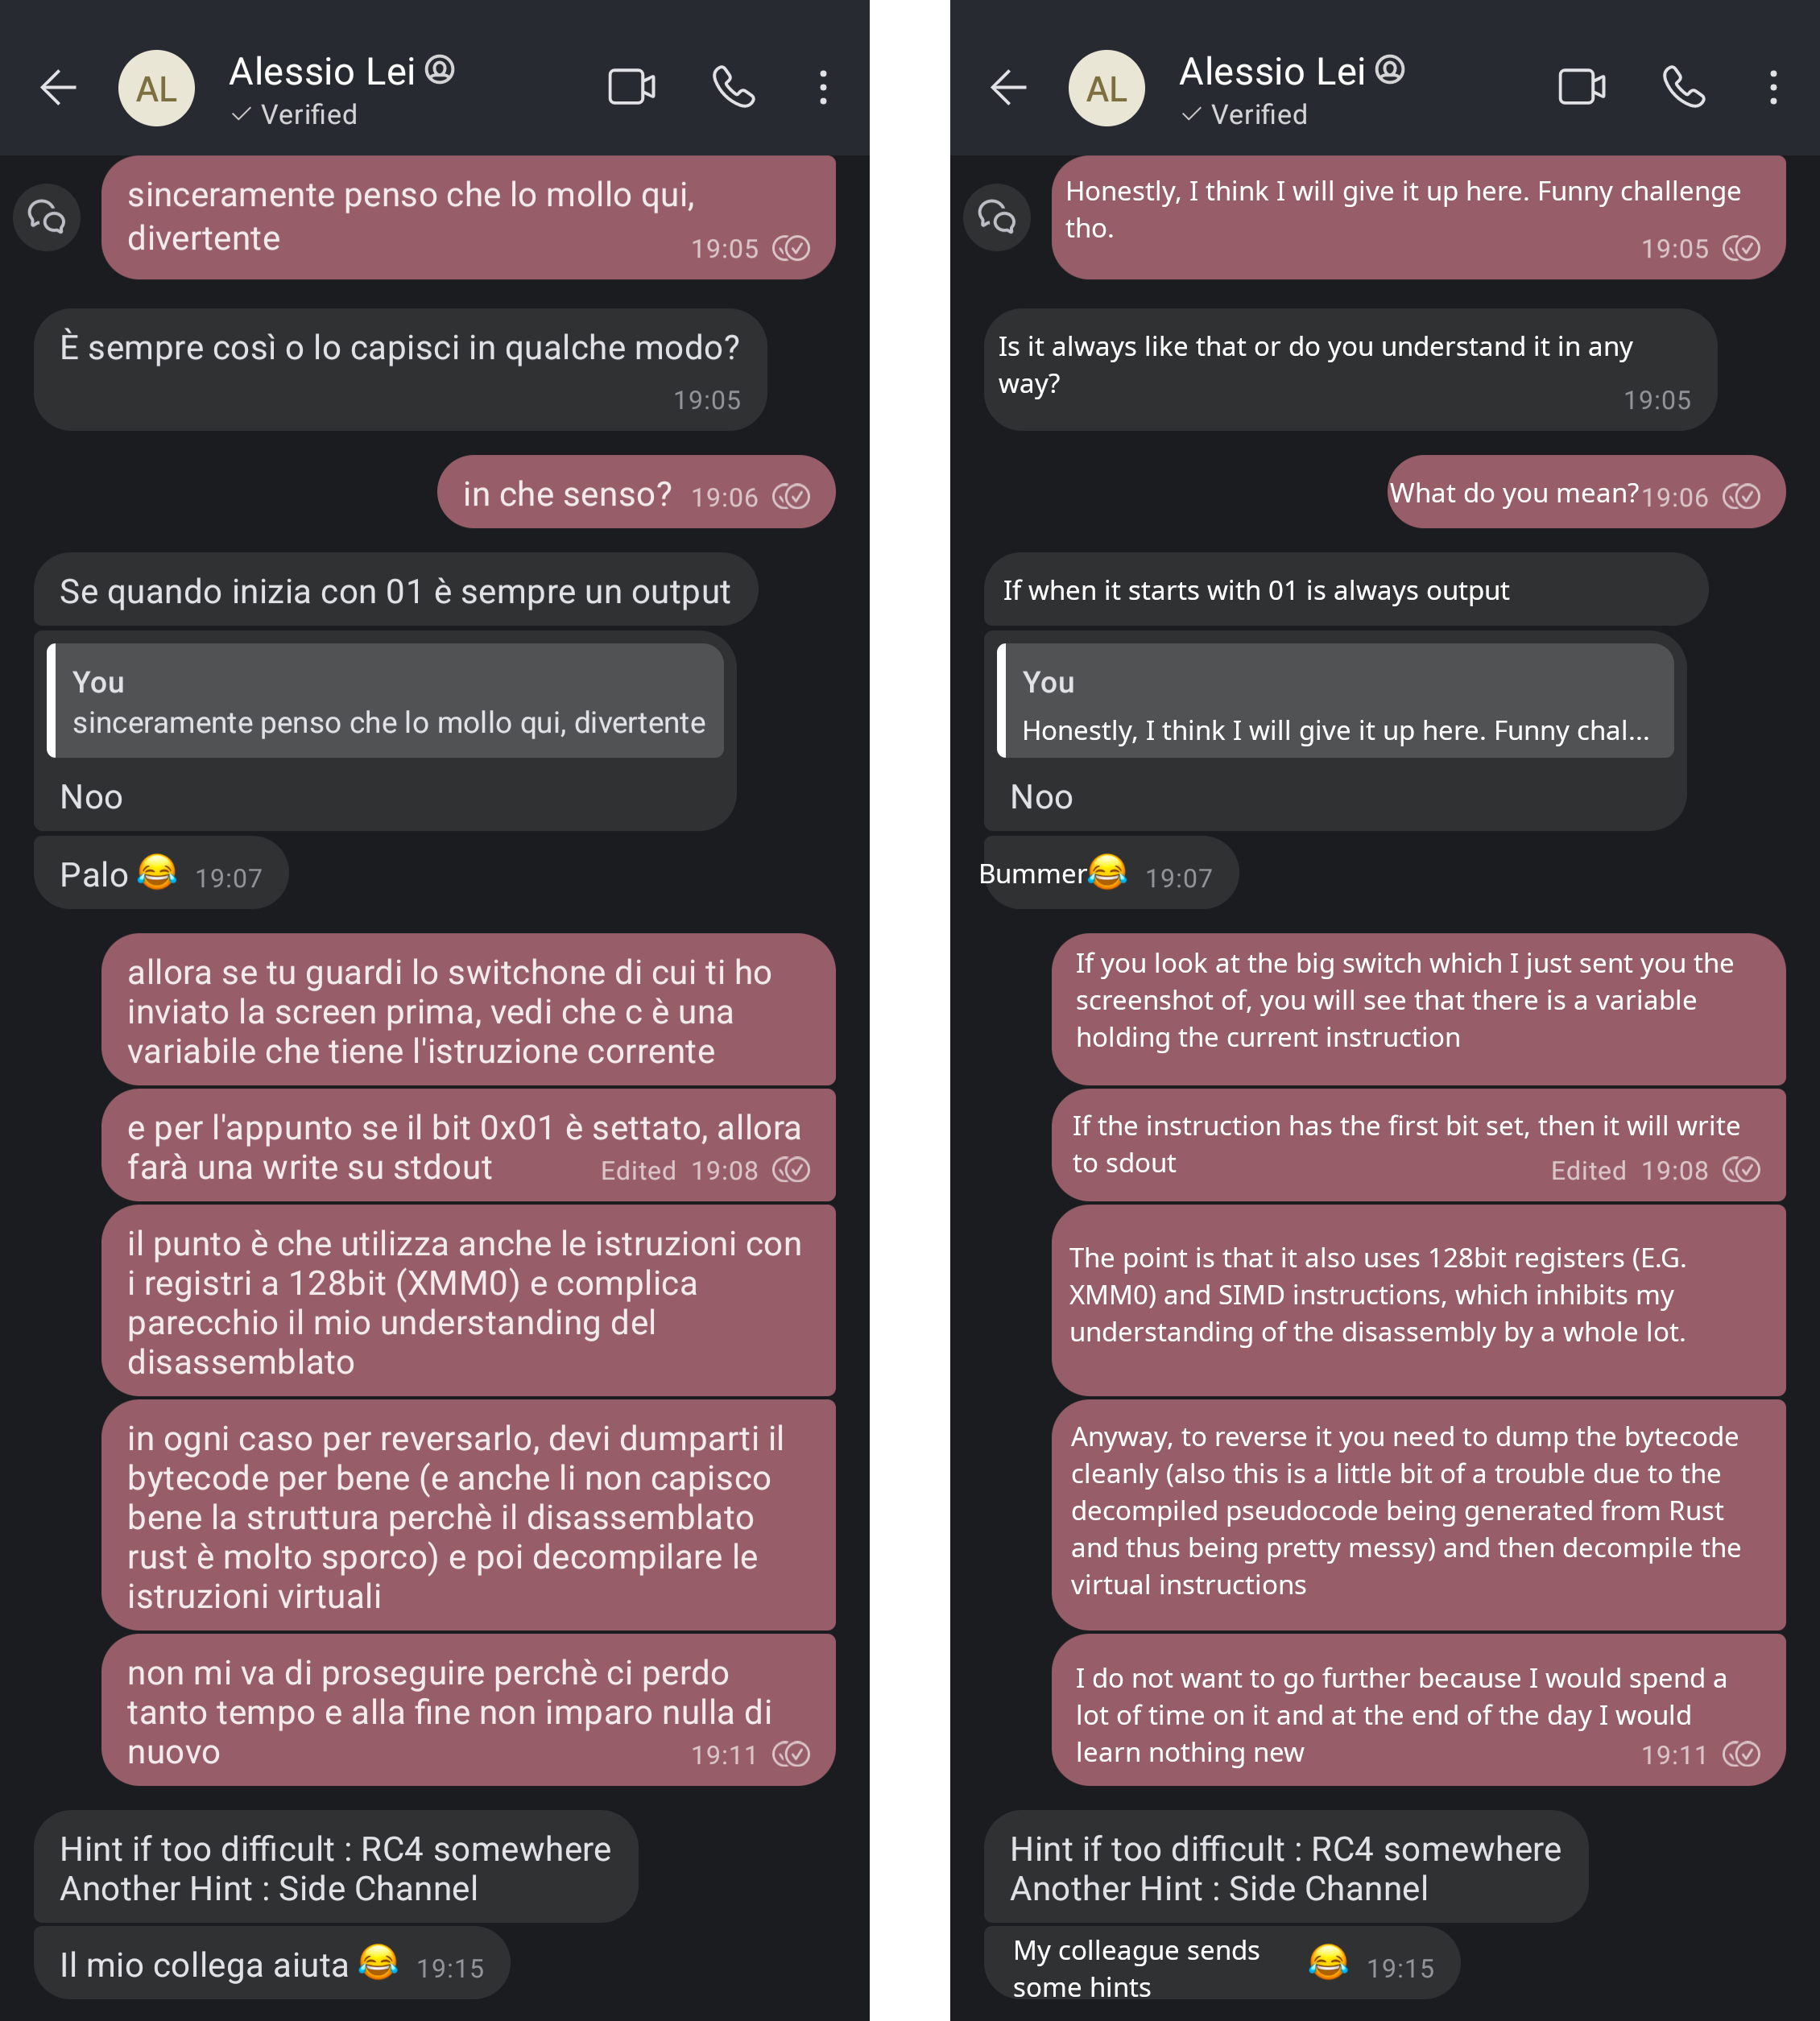
Giving up
After spending one hour on it, I gave up and told my friend Alessio some clues on how it could be possible to solve the challenge. I was giving up because due to the optimization done by Rust using SIMD instructions, it was too difficult for me to reverse engineer the Virtual Instructions.

Me IRL
Even though I was confident I could do it, I did not want to spend my time doing something that was steering me away from my studies and my job. Since it was something “I knew how to do”, I thought that I would have learned nothing from this and that I would just waste my time playing CTF instead of studying.
If only I knew...
After this happened, I noticed my girlfriend getting really nervous and histerically laughing. After she suggested to me that this “May be important” and that “I should continue because it would be impolite to my friend” I knew she was cooking something 👩🍳
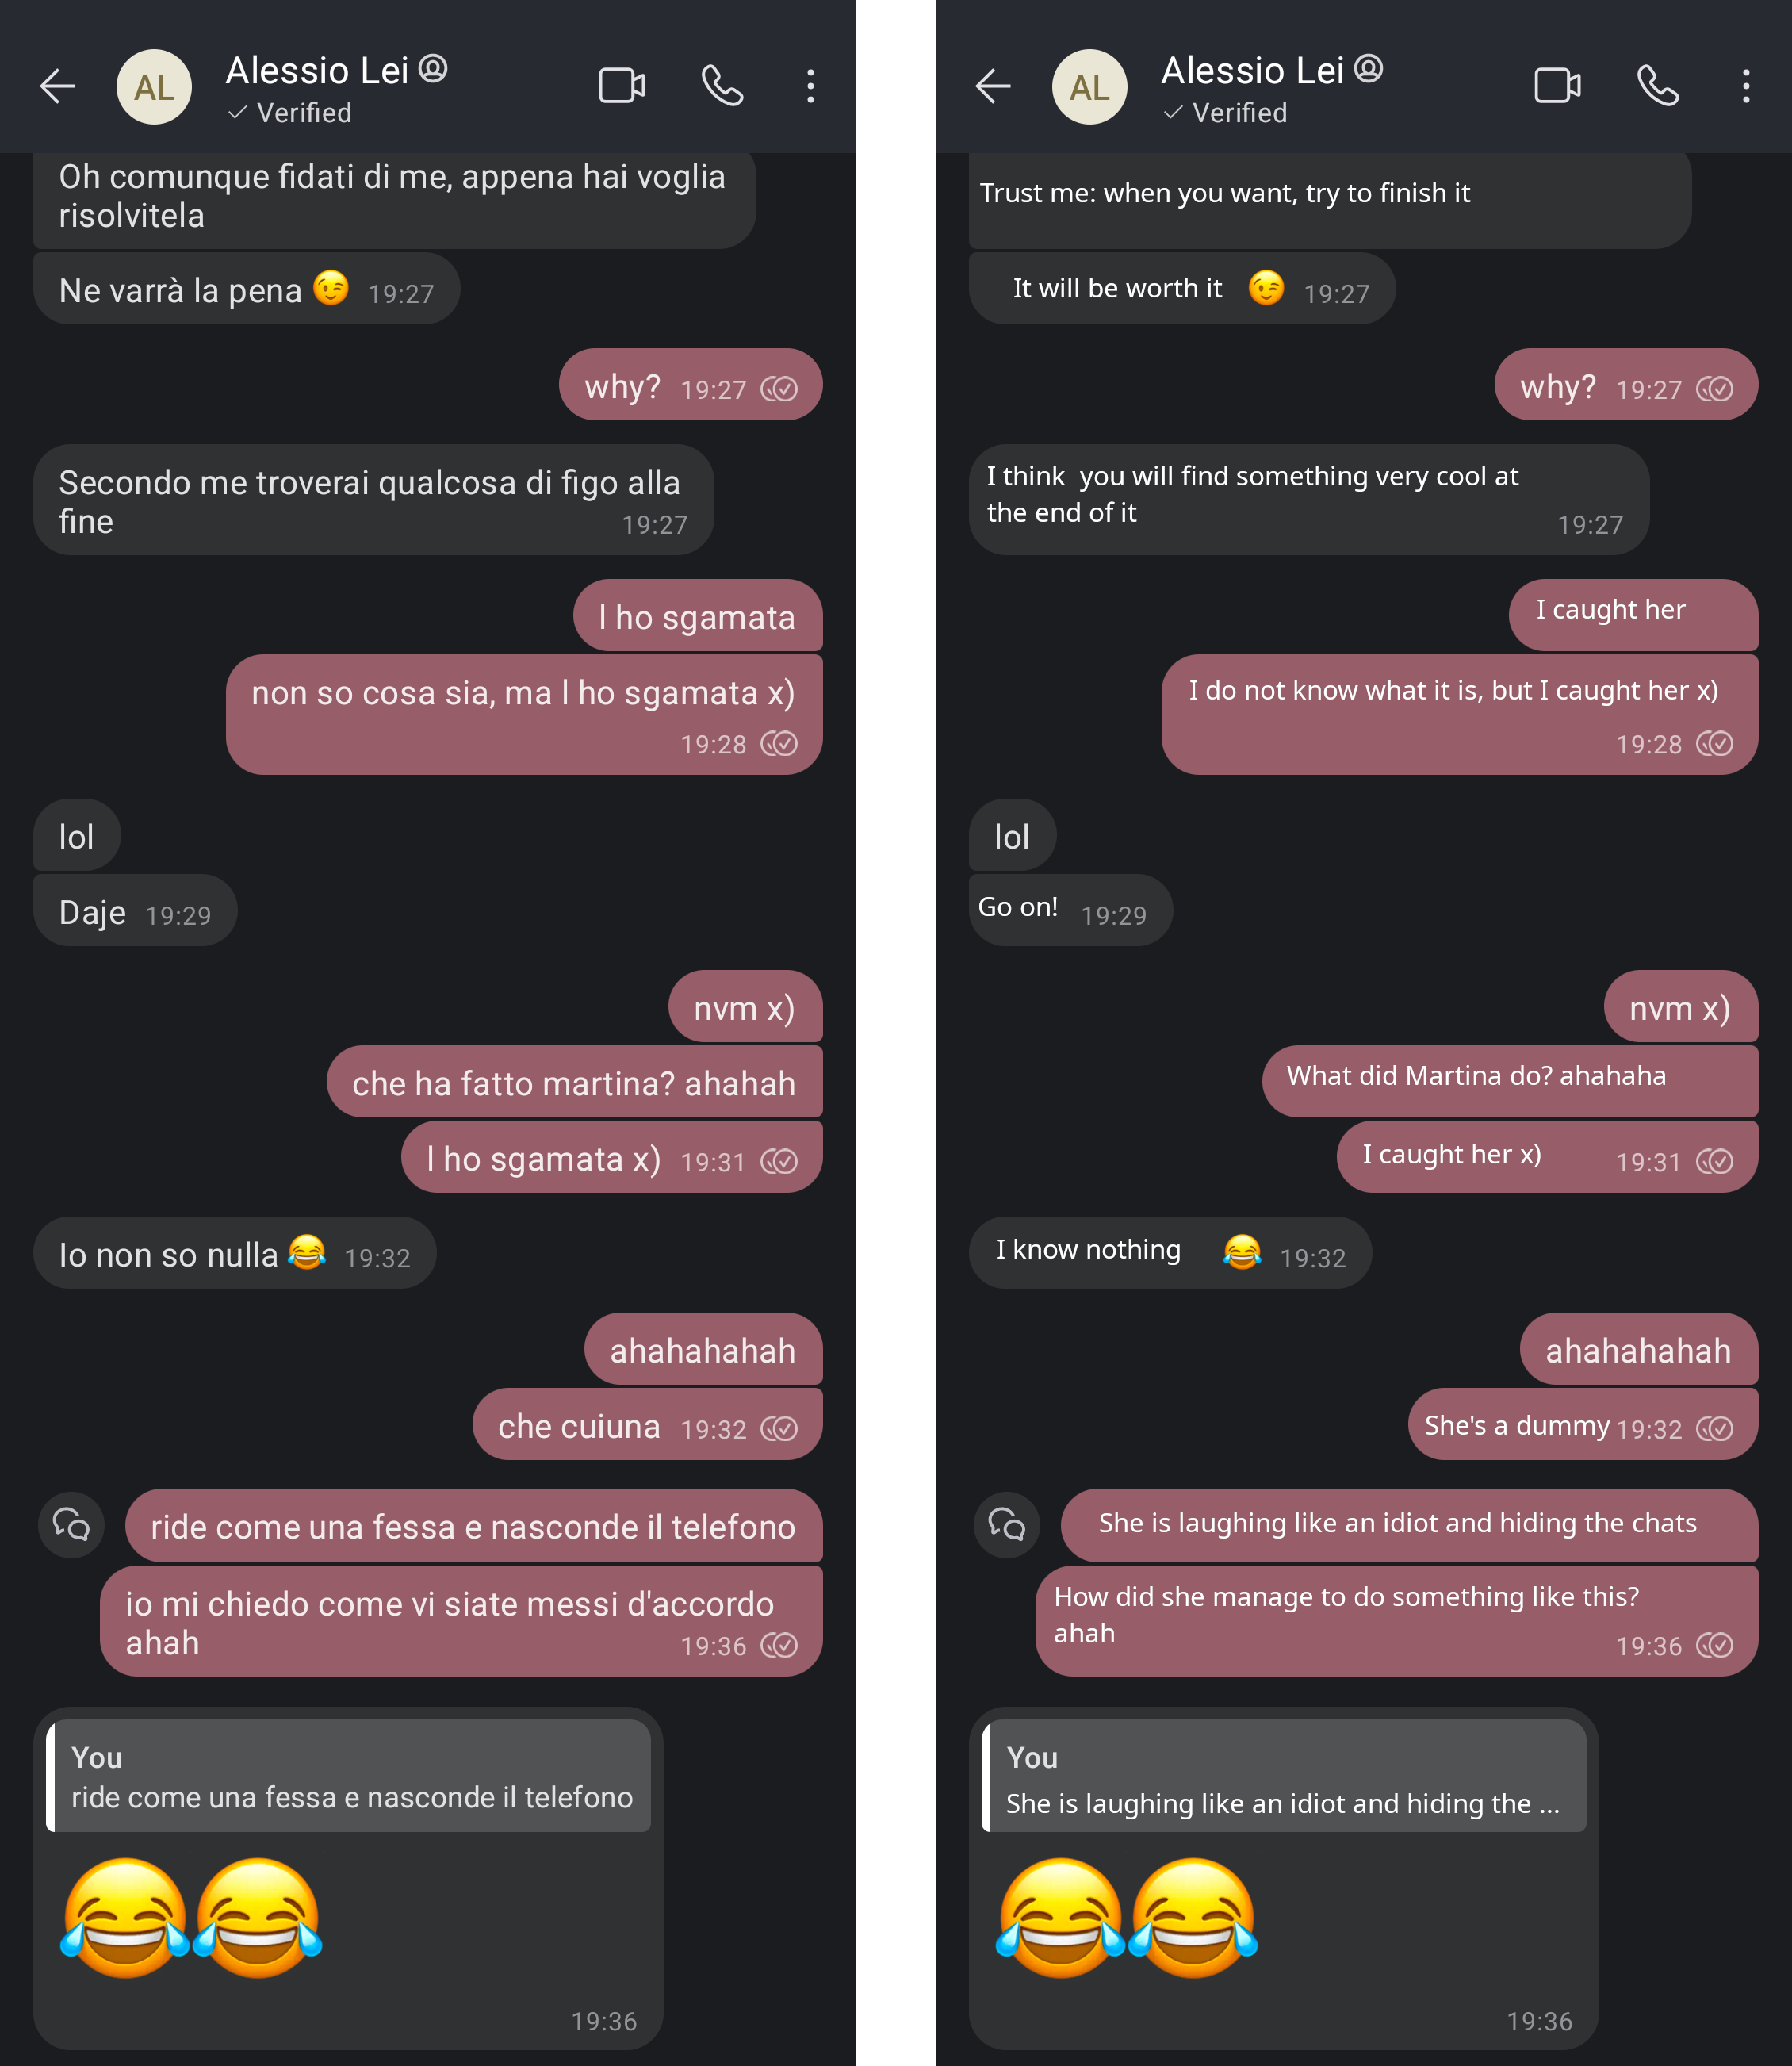
I caught her red handed!
Down the rabbit hole
Now that I knew there was something more to it other than being just a CTF, I tried to focus more on the SIMD instructions to try to build a correct disassembler for the VM bytecode.

The SIMD instructions I am referring to are the following:
; .rodata
VM_MASK1:
DB         0x00,0x00,0x80,0x00,0x00,0x20,0x00,0x00,0x00,0x04,0x00,0x00,0x80,0x00,0x00,0x00
VM_MASK2:
DB         0x10,0x00,0x00,0x00,0x02,0x00,0x00,0x00,0x00,0x40,0x00,0x00,0x00,0x08,0x00,0x00

; .text
MOVD       XMM0,EBP    ; Remember that EBP is holding the current instruction
PSHUFD     XMM3,XMM0,0x0
MOVDQA     XMM0,XMM3
PAND       XMM0,xmmword ptr [VM_MASK1]
MOVDQA     XMM1,XMM3
PAND       XMM1,xmmword ptr [VM_MASK2]
PCMPEQD    XMM1,XMM2
PCMPEQD    XMM0,XMM2
PACKSSDW   XMM0,XMM1
PACKSSWB   XMM0,XMM0
PMOVMSKB   ECX,XMM0
TEST       CL,0x80
JZ         VM_INSTR1
TEST       CL,0x40
JZ         VM_INSTR2
TEST       CL,0x20
JZ         VM_INSTR3
The program contained two blocks similar to this one. I was not able to understand how EBP was computed against the mask to then call the right virtual instruction.
To this day, I am still not able to understand how the instructions get decoded 😂
Info
If you understand the logic of this code block please contact me!
Note
UPDATE: I think I may have cracked the code. If so, I will write a follow up post at some point!
On the bright side, I was able to find some strings at the end of the bytecode, containing the
badboy (Try Again), the godboy (YAYYY) and what I thought was the start of the flag (flag{).
The whole night passed then I went to bed.
Defeat?
I tried again the same approach the day later, without success. At this point I felt completely defeated and pretty bad about myself.
Not only I was not able to solve the challenge that was supposed to be easy, but I also felt I was failing my girlfriend and my friend.

"Remind yourself that overconfidence is a slow and insidious killer"
Fortunately, she promptly picked me up and she gave me the force and support to continue.
Solving it, that’s what counts
At this point, I spent many hours on the challenge. It was time to pick another approach. This approach was living rent free in my head from the start and after I got it as a hint on my first give-up I knew it would work: Side-Channels.
The basic idea to this strategy is to try to count the number of instructions the programs executes in its Virtual Machine and compare the results with different given flag inputs.
I decided to try to do this with Intel-PIN. Intel-PIN allows anybody to Dynamic Binary Instrument any target, allowing at a high-level to add custom instructions after every instruction.
After downloading Intel-PIN source code, I duplicated the inscount2.cpp tool and coded the following patch:
diff --git a/inscount2.cpp b/inscount3.cpp
index c38f1b4..b66f7c6 100644
--- a/inscount2.cpp
+++ b/inscount3.cpp
@@ -18,6 +18,9 @@ ofstream OutFile;
 // make it static to help the compiler optimize docount
 static UINT64 icount = 0;

+const static ADDRINT VM_START = 0x095dc;  // Start address of the VM loop (relative to .text)
+const static ADDRINT VM_END = 0x09998;    // End address of the VM loop (relative to .text)
+
 // This function is called before every block
 // Use the fast linkage for calls
 VOID PIN_FAST_ANALYSIS_CALL docount(ADDRINT c) { icount += c; }
@@ -29,6 +32,12 @@ VOID Trace(TRACE trace, VOID* v)
     // Visit every basic block  in the trace
     for (BBL bbl = TRACE_BblHead(trace); BBL_Valid(bbl); bbl = BBL_Next(bbl))
     {
+        ADDRINT addr = BBL_Address(bbl);
+        IMG currentImg = IMG_FindByAddress(addr);
+        if (!IMG_Valid(currentImg) || !IMG_IsMainExecutable(currentImg) || (addr < (VM_START+IMG_LowAddress(currentImg))) || (addr > (VM_END+IMG_LowAddress(currentImg))) ) {
+            continue;
+        }
+
         // Insert a call to docount for every bbl, passing the number of instructions.
         // IPOINT_ANYWHERE allows Pin to schedule the call anywhere in the bbl to obtain best performance.
         // Use a fast linkage for the call.
@@ -43,7 +52,7 @@ VOID Fini(INT32 code, VOID* v)
 {
     // Write to a file since cout and cerr maybe closed by the application
     OutFile.setf(ios::showbase);
-    OutFile << "Count " << icount << endl;
+    OutFile << icount << endl;
     OutFile.close();
 }
Using the resulting PIN tool, it was possible to infer the length of the flag. Running the target while counting the number of instructions ran in the Virtual Machine, it was possible to understand the length of the flag by observing the instrunctions increasing with the lenght of the given input up until the 39th character.
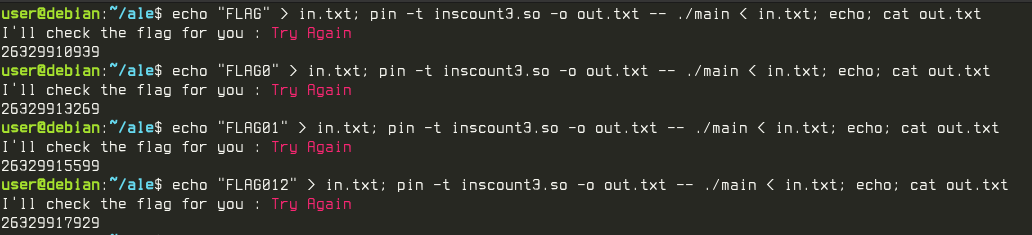
Executing the target while counting the instructions
The same approach can be used to bruteforce the right character of the flag. Thanks to the strings I
found in the bytecode before, I was able to test this by replacing the initial characters of the flag
with the expected flag{. I was able to notice an increase of the number of instructions executed in
the virtual machine for each right character in the flag 😎
It was just a matter of coding a bruteforce solution, which would run in parallel n targets with n variations of the flag, while instrumenting the target to count the number of instructions and in the end pick the flag variation which executed the maximum number of instructions.
def main():
    alphabet=string.ascii_letters + string.digits + string.punctuation + ' '
    flag="flag{{{{{{{{{{{{{{{{{{{{{{{{{{{{{{{{{{}"
    start_index=len("flag{")
    for i in range(start_index, len(flag)-2):
        print(f"FLAG={flag} INDEX={i}")
        variations = generate_variations(flag, i, alphabet)
        with ThreadPoolExecutor() as executor:
            futures = [executor.submit(run_counting_instructions, flag) for flag in variations]
        results = [future.result() for future in futures]
        next_char = alphabet[results.index(max(results))]
        flag = flag[:i] + next_char + flag[i+1:]
        print(f"Found next character: '{next_char}'")
    # For the last character, we check for the output instead of instrumenting the target.
    for flag in generate_variations(flag, len(flag)-2, alphabet):
        if "Try Again" not in run(flag):
            break
    print(flag)
It was only a matter of time and eventually the solution would arrive:
FLAG=flag{}}}}}}}}}}}}}}}}}}}}}}}}}}}}}}}}}} INDEX=5
Found next character: 'm'
FLAG=flag{m}}}}}}}}}}}}}}}}}}}}}}}}}}}}}}}}} INDEX=6
Found next character: 'a'
FLAG=flag{ma}}}}}}}}}}}}}}}}}}}}}}}}}}}}}}}} INDEX=7
Found next character: 'r'
FLAG=flag{mar}}}}}}}}}}}}}}}}}}}}}}}}}}}}}}} INDEX=8
Found next character: 't'
FLAG=flag{mart}}}}}}}}}}}}}}}}}}}}}}}}}}}}}} INDEX=9
Found next character: 'i'
FLAG=flag{marti}}}}}}}}}}}}}}}}}}}}}}}}}}}}} INDEX=10
Found next character: 'n'
FLAG=flag{martin}}}}}}}}}}}}}}}}}}}}}}}}}}}} INDEX=11
Found next character: 'a'
FLAG=flag{martina}}}}}}}}}}}}}}}}}}}}}}}}}}} INDEX=12
Found next character: '_'
FLAG=flag{martina_}}}}}}}}}}}}}}}}}}}}}}}}}} INDEX=13
Found next character: ':'
FLAG=flag{martina_:}}}}}}}}}}}}}}}}}}}}}}}}} INDEX=14
Found next character: 'm'
FLAG=flag{martina_:m}}}}}}}}}}}}}}}}}}}}}}}} INDEX=15
Found next character: 'i'
FLAG=flag{martina_:mi}}}}}}}}}}}}}}}}}}}}}}} INDEX=16
Found next character: '_'
FLAG=flag{martina_:mi_}}}}}}}}}}}}}}}}}}}}}} INDEX=17
Found next character: 'v'
FLAG=flag{martina_:mi_v}}}}}}}}}}}}}}}}}}}}} INDEX=18
Found next character: 'u'
FLAG=flag{martina_:mi_vu}}}}}}}}}}}}}}}}}}}} INDEX=19
Found next character: 'o'
FLAG=flag{martina_:mi_vuo}}}}}}}}}}}}}}}}}}} INDEX=20
Found next character: 'i'
FLAG=flag{martina_:mi_vuoi}}}}}}}}}}}}}}}}}} INDEX=21
Found next character: '_'
FLAG=flag{martina_:mi_vuoi_}}}}}}}}}}}}}}}}} INDEX=22
Found next character: 's'
FLAG=flag{martina_:mi_vuoi_s}}}}}}}}}}}}}}}} INDEX=23
Found next character: 'p'
FLAG=flag{martina_:mi_vuoi_sp}}}}}}}}}}}}}}} INDEX=24
Found next character: 'o'
FLAG=flag{martina_:mi_vuoi_spo}}}}}}}}}}}}}} INDEX=25
Found next character: 's'
FLAG=flag{martina_:mi_vuoi_spos}}}}}}}}}}}}} INDEX=26
Found next character: 'a'
FLAG=flag{martina_:mi_vuoi_sposa}}}}}}}}}}}} INDEX=27
Found next character: 'r'
FLAG=flag{martina_:mi_vuoi_sposar}}}}}}}}}}} INDEX=28
Found next character: 'e'
FLAG=flag{martina_:mi_vuoi_sposare}}}}}}}}}} INDEX=29
Found next character: '?'
FLAG=flag{martina_:mi_vuoi_sposare?}}}}}}}}} INDEX=30
Found next character: '_'
FLAG=flag{martina_:mi_vuoi_sposare?_}}}}}}}} INDEX=31
Found next character: 'i'
FLAG=flag{martina_:mi_vuoi_sposare?_i}}}}}}} INDEX=32
Found next character: 'n'
FLAG=flag{martina_:mi_vuoi_sposare?_in}}}}}} INDEX=33
Found next character: 'a'
FLAG=flag{martina_:mi_vuoi_sposare?_ina}}}}} INDEX=34
Found next character: '_'
FLAG=flag{martina_:mi_vuoi_sposare?_ina_}}}} INDEX=35
Found next character: 't'
FLAG=flag{martina_:mi_vuoi_sposare?_ina_t}}} INDEX=36
Found next character: 'u'
FLAG=flag{martina_:mi_vuoi_sposare?_ina_tu}} INDEX=37
Found next character: 'a'
flag{martina_:mi_vuoi_sposare?_ina_tua}
Martina, my girlfriend, proposed me through a Reverse Engineering challenge!

Thanks Alessio for partercipating in the surprise and the Fiverr coder who created this lovely challenge ❤️❤️❤️
Download
You can download the code and binaries related to this post here. The password is the flag.
Warning
Even though I have analyzed the target, I did not fully reverse engineered it.
Please be careful if you wish to execute it. If you decide to execute it, do it in a VM.